Little Cloud Setup

Let’s get started with the Little Cloud Snow Gun! In this article, we’ll walk through the basics of setting up the Little Cloud Snow Gun so you can start making snow!
Gather the Proper Equipment

Before you head outside, let’s make sure you have the proper equipment. Here’s what you’ll need:
- Little Cloud Snow Gun
- Snow Gun Stand (included)
- Water Filter (included)
- Garden Hose
- Air Compressor (minimum 4.5 CFM @ 90 PSI)
- 10′ Air Hose (longer allowed, but may reduce performance)
- Extension Cord for Air Compressor
Position the Snow Gun Stand
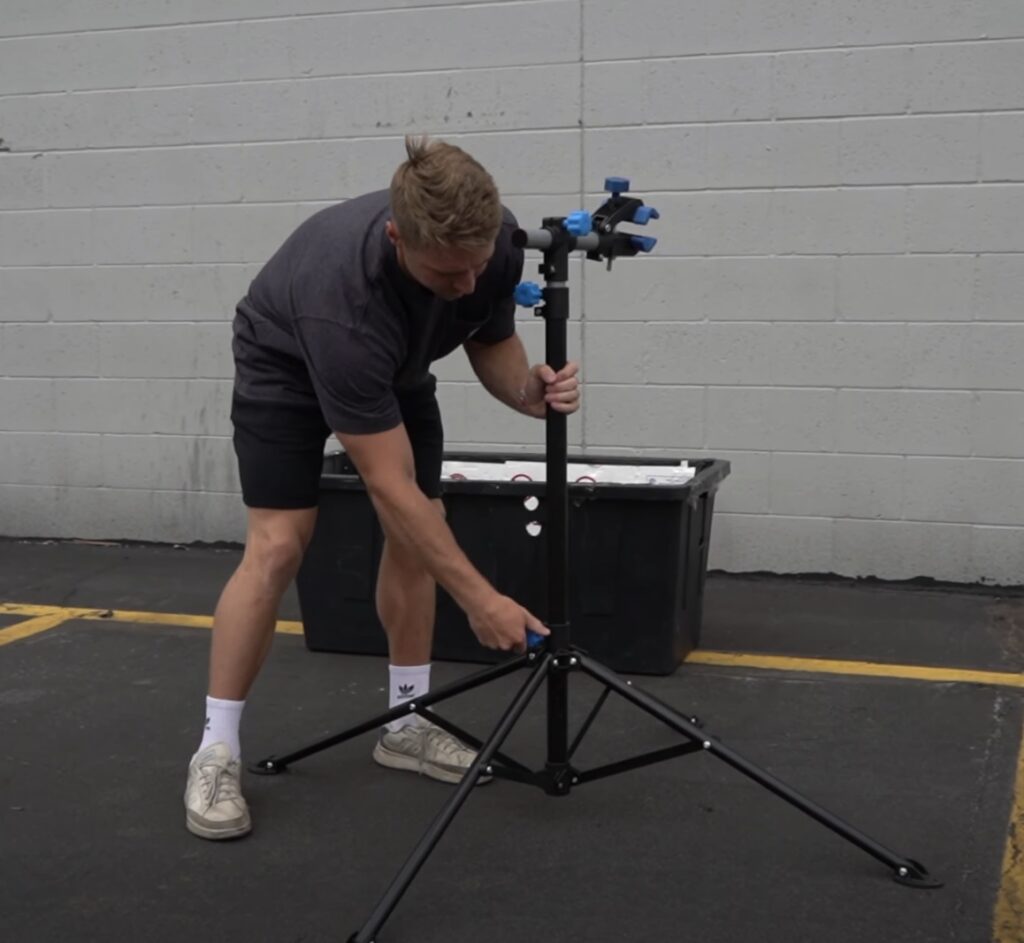
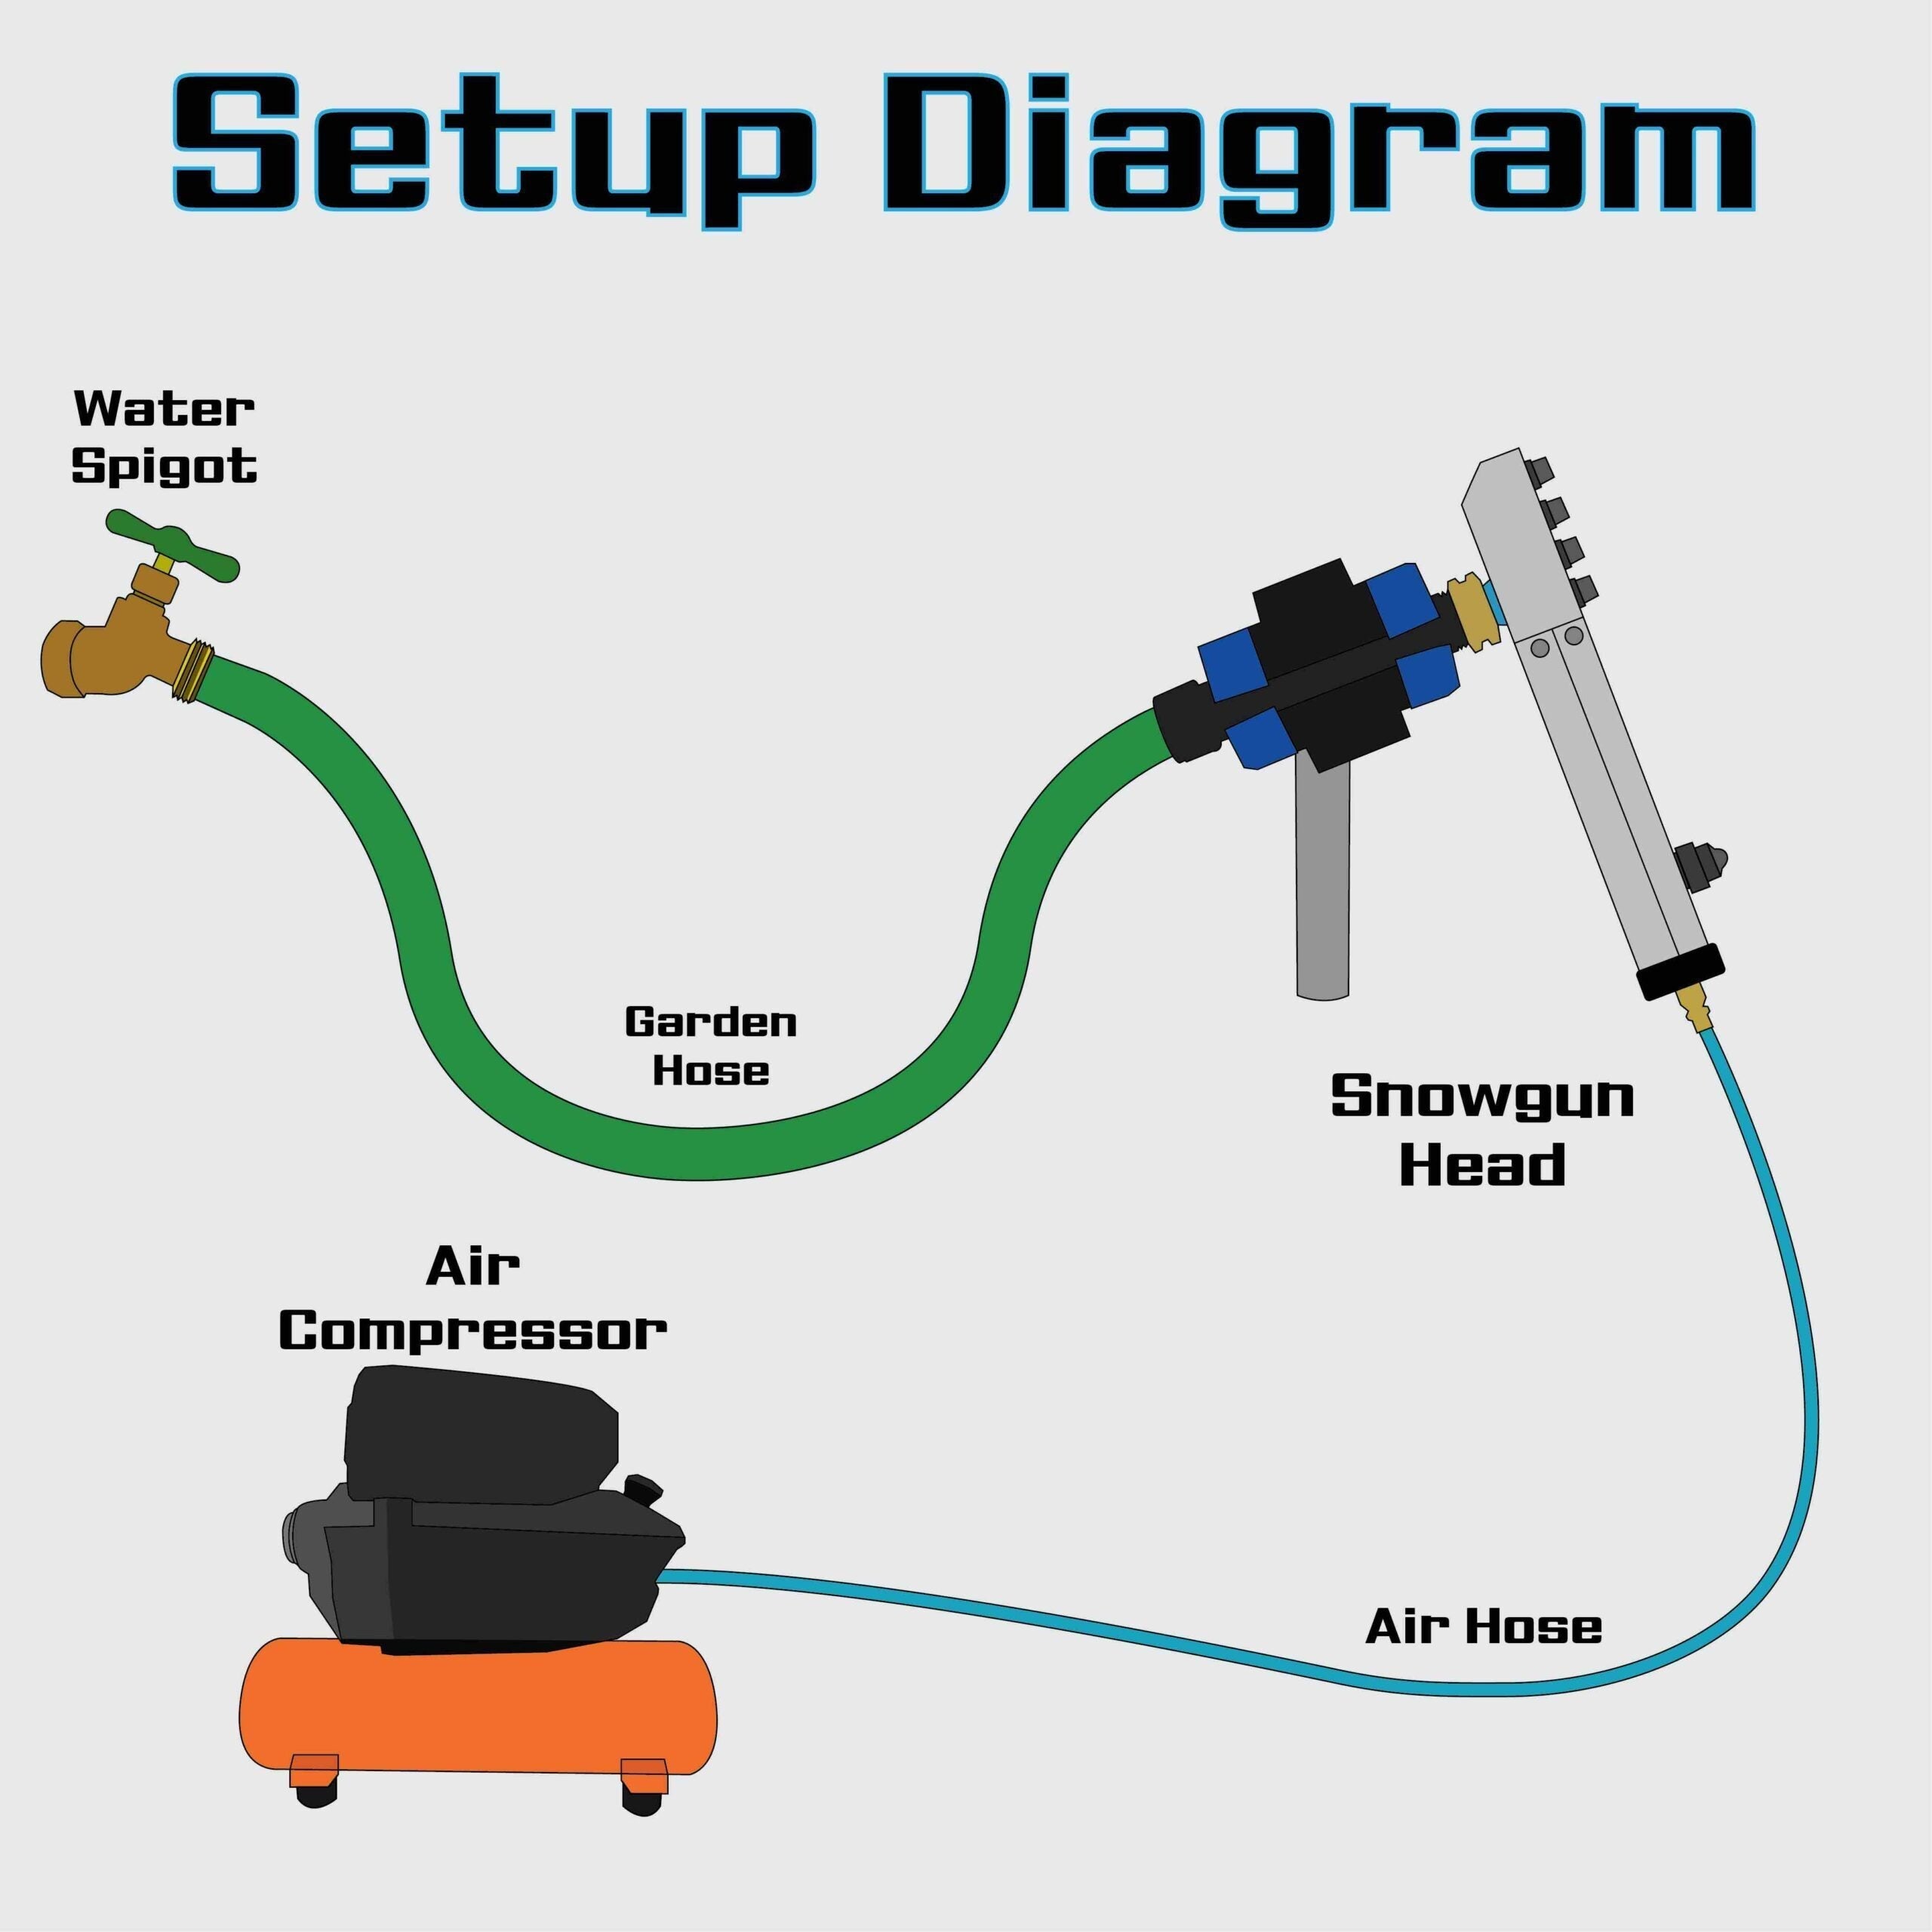
Place the snow gun stand in your desired snow‑making area. Ensure your garden hose can reach from your water source to the stand.
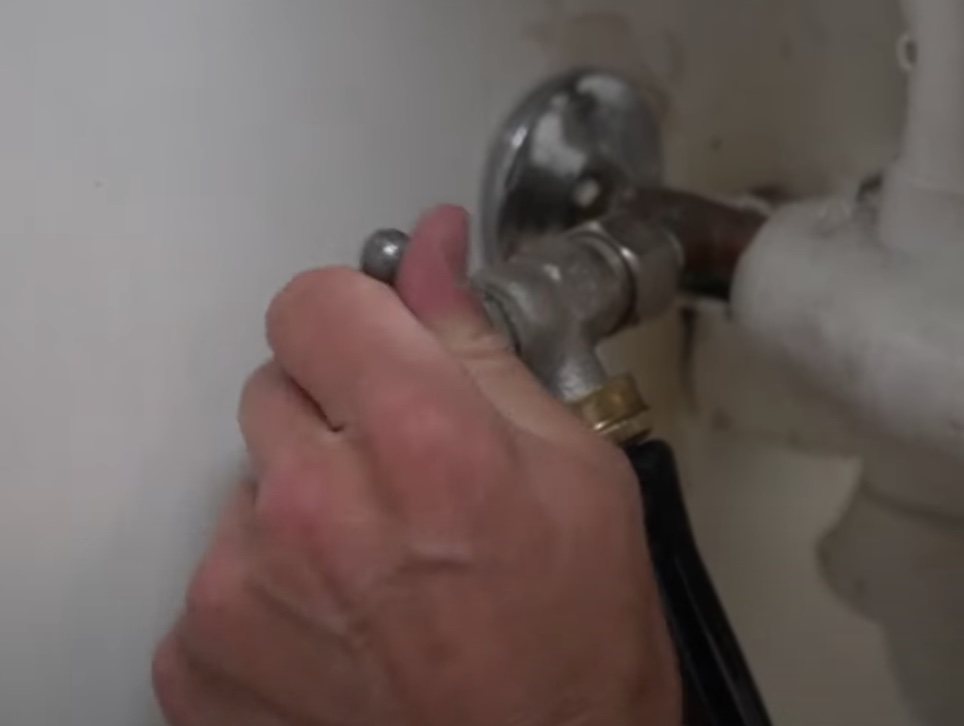
Connect the Water

Attach one end of the garden hose to your water spigot, the other to the snow gun’s filter. Tighten the connections securely.
Position the Air Compressor
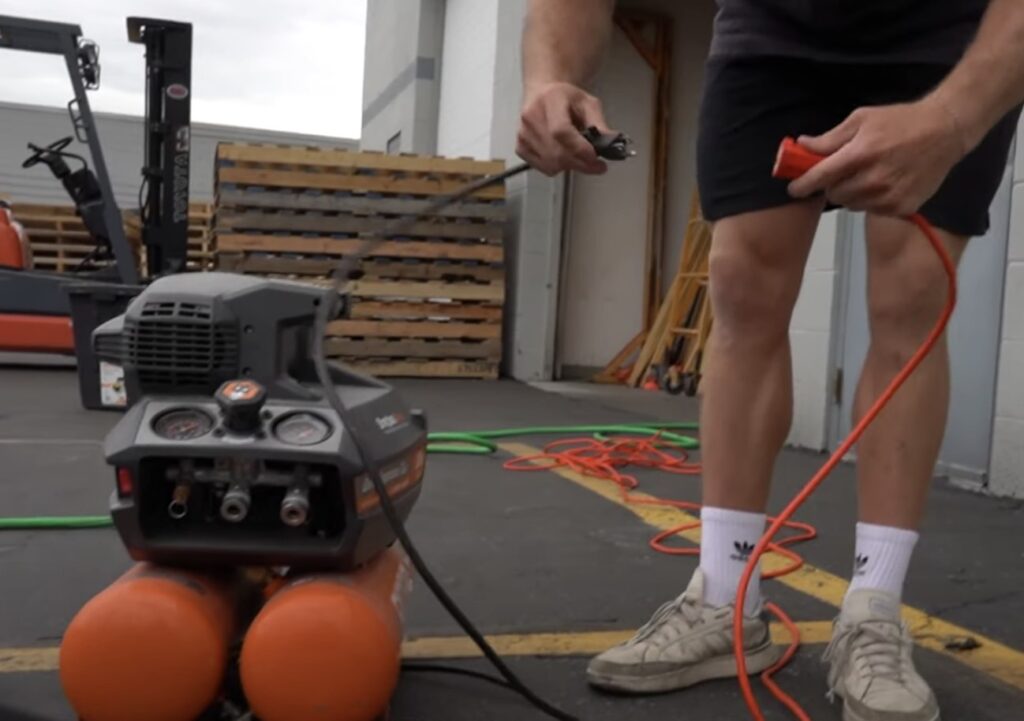
Place the air compressor within reach of the 10′ air hose. Use an extension cord if needed. Important: Ensure the tank is completely empty before hooking up—this prevents freezing the bottom nozzle.

Turn the Water ON
With the compressor off, turn on the water. You should see flow from all top misting nozzles and a small stream from the bottom nucleation nozzle.
Plug in Air Hose & Turn Air Compressor ON

Connect your air hose and turn the compressor on. Wait 2–4 minutes while pressure builds—aim for 60–100 PSI at the bottom nozzle. If using a larger compressor (>6 CFM), monitor and regulate to prevent excessive pressure from overpowering water flow.
Wait for the Snow to Build!

If conditions are right, snow will start forming shortly!
Share:
Little Cloud Operation