

Little Cloud Takedown
Properly taking the system down after making snow is extremely important! To prolong the life of your system and prepare for the next snowmaking session, follow these instructions:
Unplug Air Hose and Turn the Air Compressor OFF
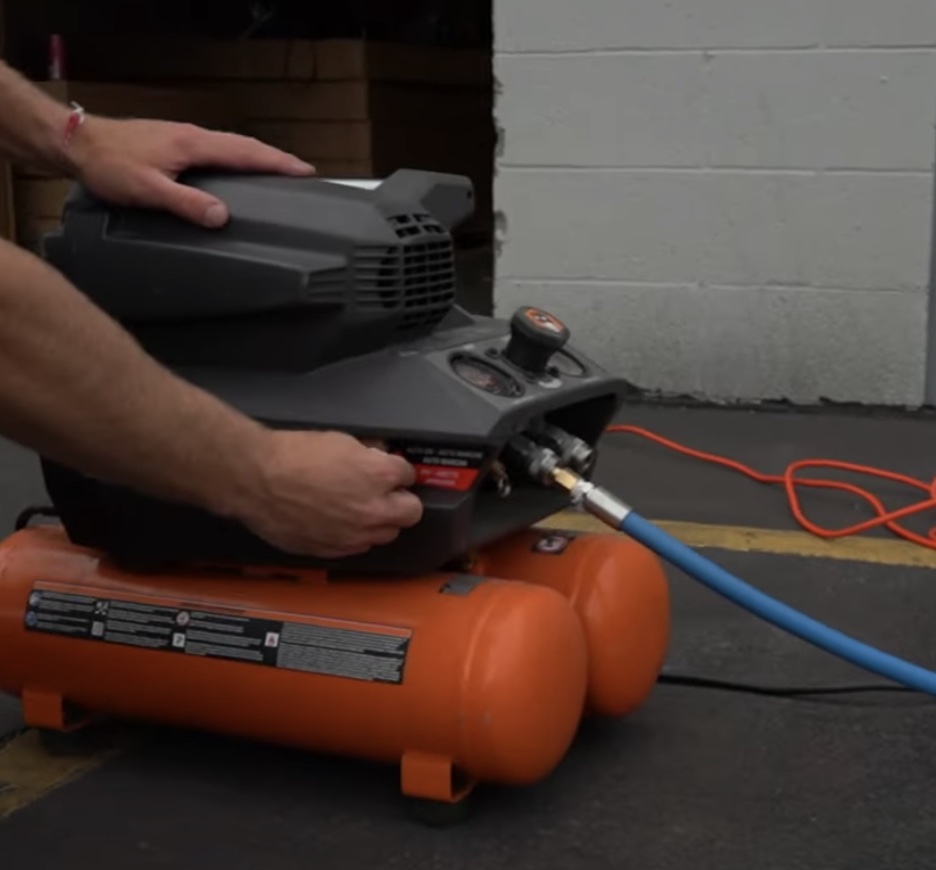
Unplug the Air Hose and turn the Air Compressor OFF. Let the tank drop to about 40–60 PSI. You’ll need some pressure left to push water through the hose in the next step.
Turn the Water OFF
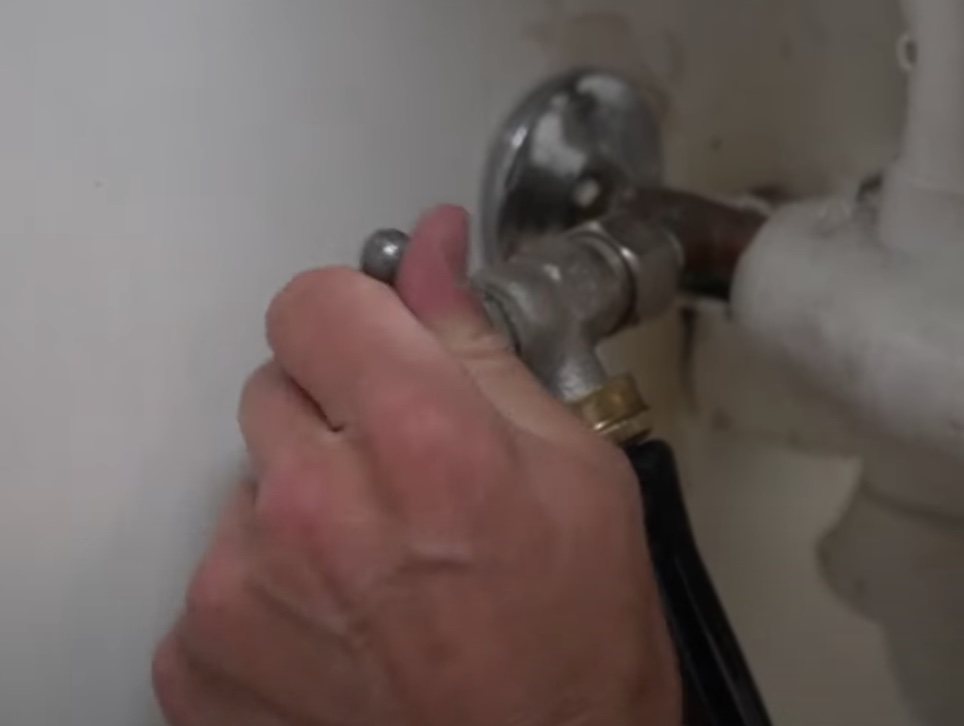
At your water spigot (or source), turn the water OFF. Unthread the garden hose and move it near the air compressor to prepare for the blowout.
Blow Out the System
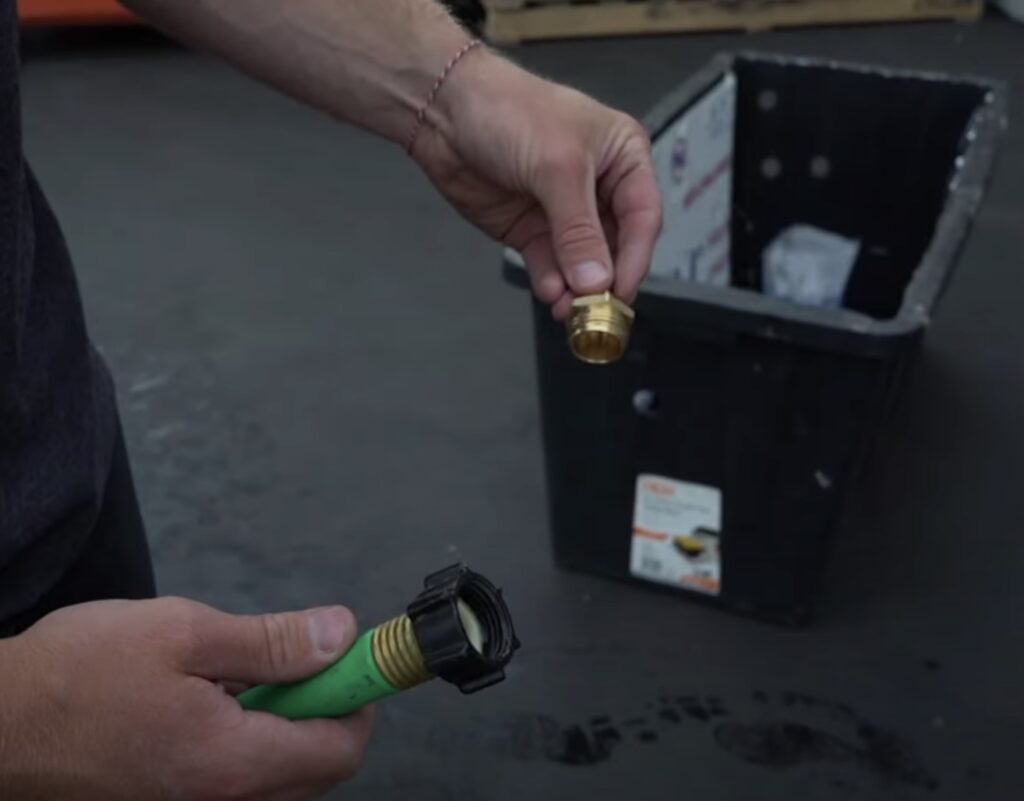
Insert the Blow Out Tool into the female end of the garden hose and secure it tightly. Turn the compressor ON and connect the air hose. Be careful — do not stand near the snow gun during this step.

The compressed air will push remaining water out through the snow gun. It may take several minutes. Remove as much water as possible to prevent freezing and damage.
Blow Out Each Item Individually
After the full system is cleared, disconnect each component — garden hose, snow gun — and use the Blow Out Tool to remove any residual water. Pay extra attention to connection points where water may remain.
Store Equipment in a Warm Location
Store all snowmaking gear in a warm, dry place. Do not leave anything outside to freeze. Use a storage bin to keep items organized and protected until your next snowmaking session.
Little Cloud Troubleshooting
If you're having trouble making snow with your Little Cloud Snow Gun, walk through these steps to identify the issue:
1) Check the Temperature/Humidity
Unsuitable weather conditions lead to ice or water instead of snow. Verify your conditions using our Snowmaking Weather Chart.
2) Check Air Hose Length
Keep air hoses under 10ft or insulate longer ones. Hoses over 25ft may become restricted after 3–4 hours. Learn more in our article on Air Hose Issues.
3) Air Compressor Size (Minimum 4.5 CFM @ 90 PSI)
Use a compressor with at least 4.5 CFM @ 90 PSI. The optimal range is 5–6 CFM @ 90 PSI for consistent nucleation nozzle performance.
4) Check Water Source Pressure (Minimum 30 PSI)
Ensure your water source delivers at least 30 PSI. If you’re using a well or alternate source, a booster pump may be required. A pressure above 60 PSI is ideal. Use a gauge like this one to check.
5) Check Nucleation Nozzle (Water & Air Flow)
The bottom nozzle must receive both air and water. First, ensure water flows out before connecting air. Then connect the air hose and start the compressor. If no water is flowing, try these:
- Bring the snow gun inside or warm it with hot water for 20–30 minutes.
- Flip the snow gun upside-down and apply hot water around fittings.
- If still blocked and the gun is not frozen, contact support@backyardsnowstorm.com.
6) Leak or Faulty Equipment
Inspect all components — compressor, hoses, fittings, snow gun — for leaks or damage. Air leaks before the nozzle reduce pressure and impair performance.
If you've tried all steps and still have trouble, please contact us at support@backyardsnowstorm.com. We're here to help!
Share:
Little Cloud Takedown
Little Cloud Home Requirements