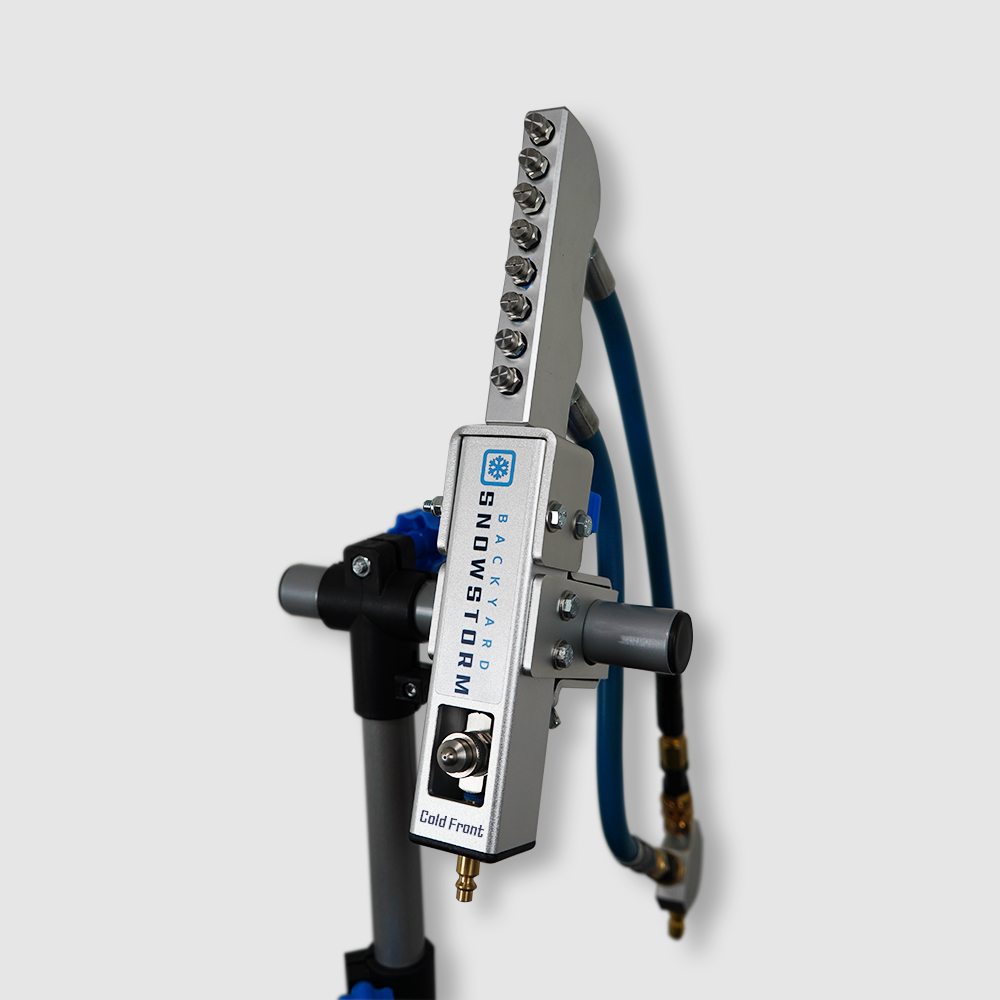
Let’s get started with the Cold Front Snow Gun! In this article, we’ll walk through the basics of setting up your Snow Gun so you can start pumping out some snow!
Gather the Proper Equipment #
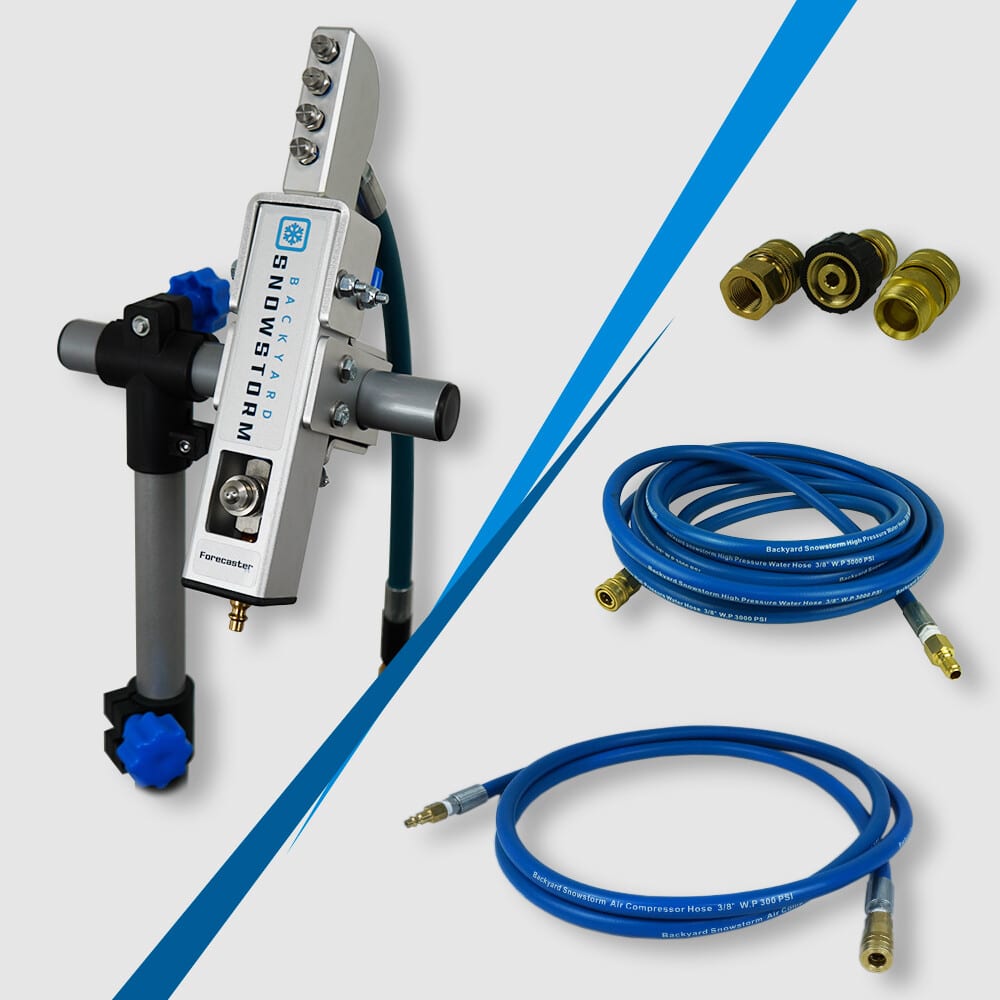
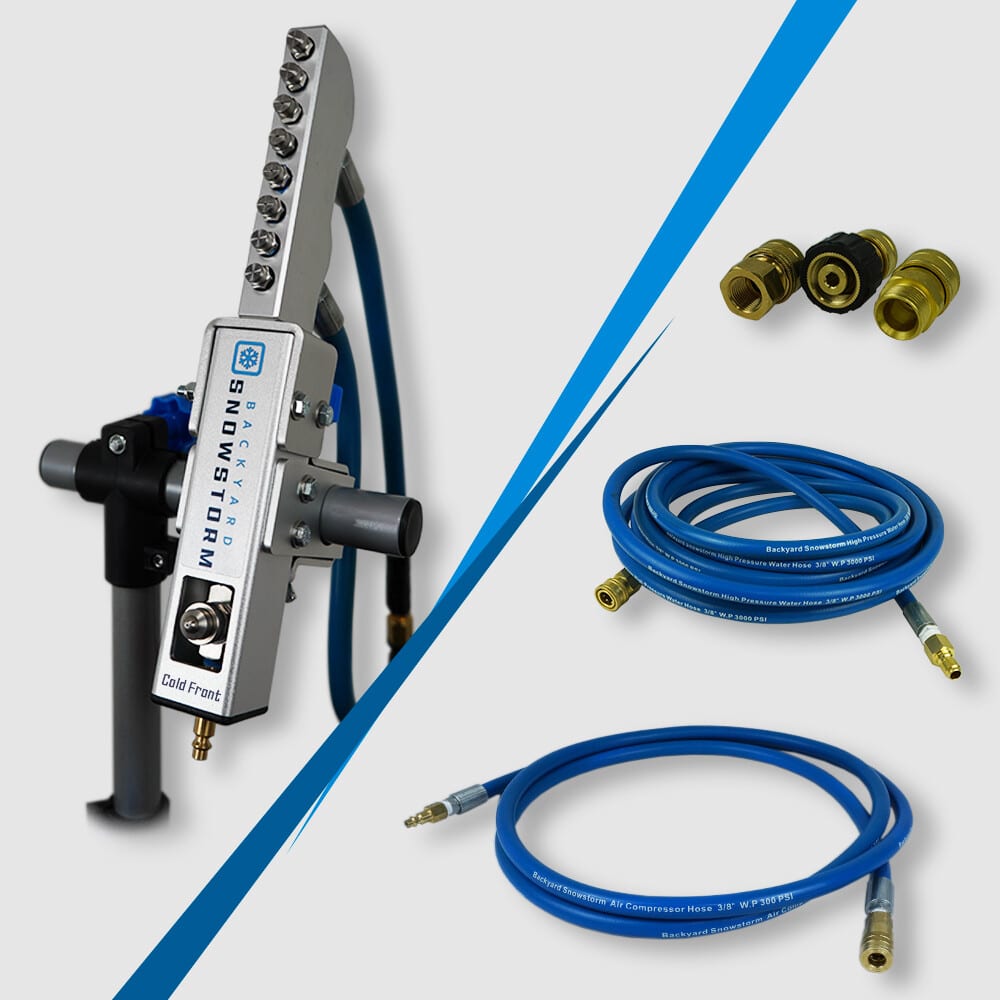
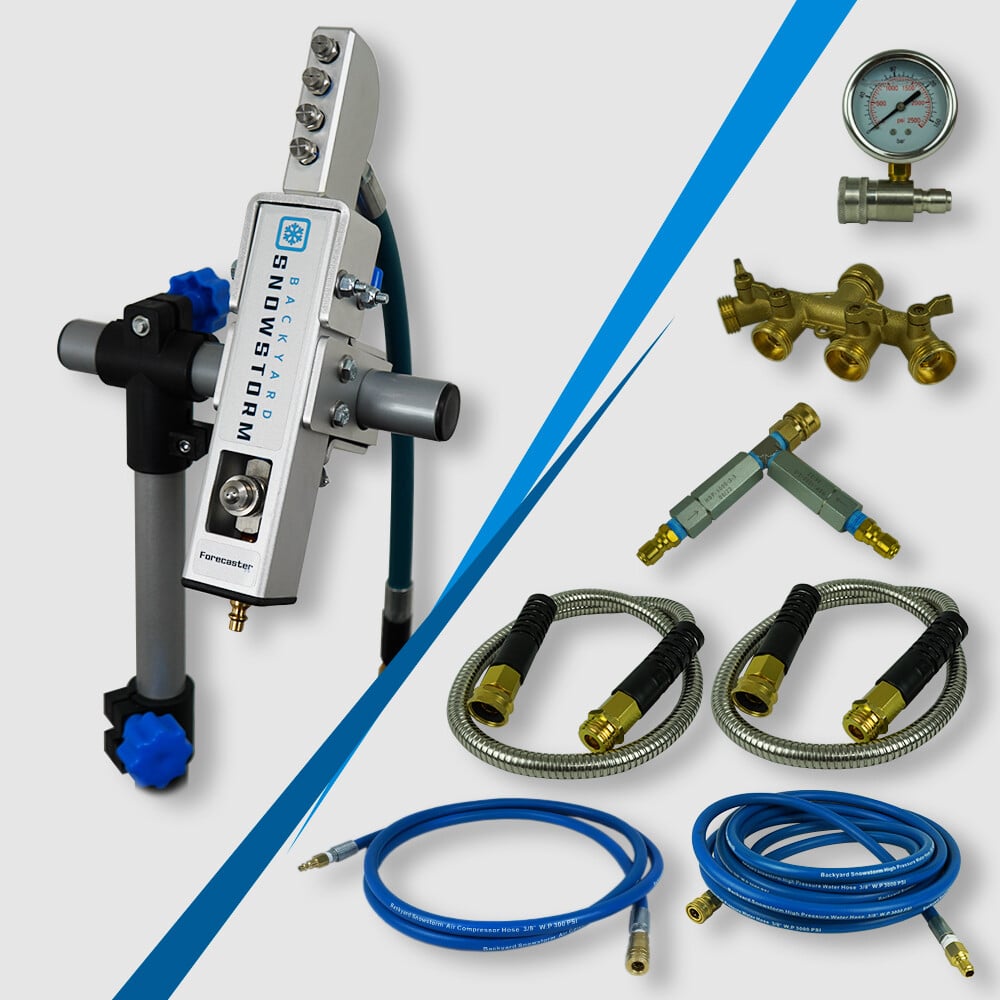
Before you head outside, let’s make sure you have what you’ll need to start. Here’s a list of everything you’ll need with the Cold Front Snow Gun:
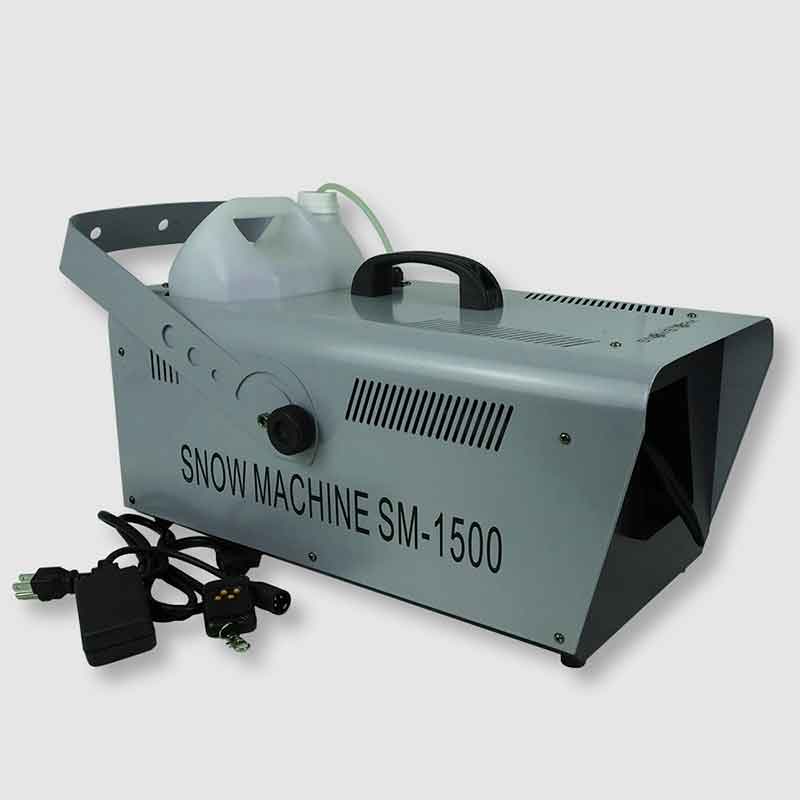
- -Cold Front Snow Gun
- -Snow Gun Stand (Included)
- -Water Filter (Included)
- -Garden Hose
- -Air Compressor (minimum of 5 CFM @ 90 PSI) – Learn more about compressors here
- -Pressure Washer (any will work)
- -10’ Air Hose (Can be longer than 10’ but has limitations in performance – Learn More Here
- -Extension cords for Air Compressor and Pressure Washer
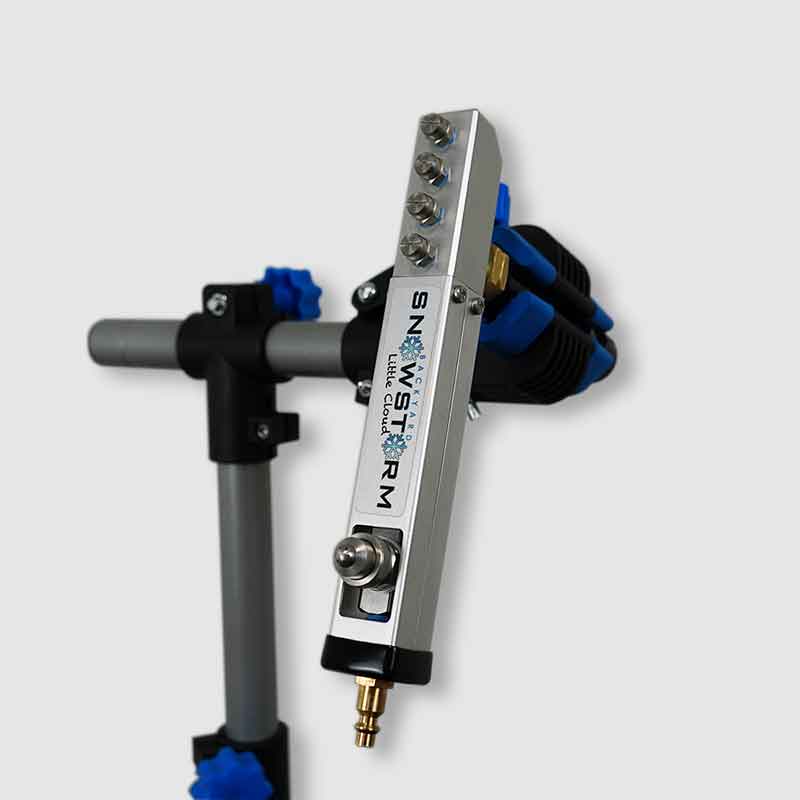
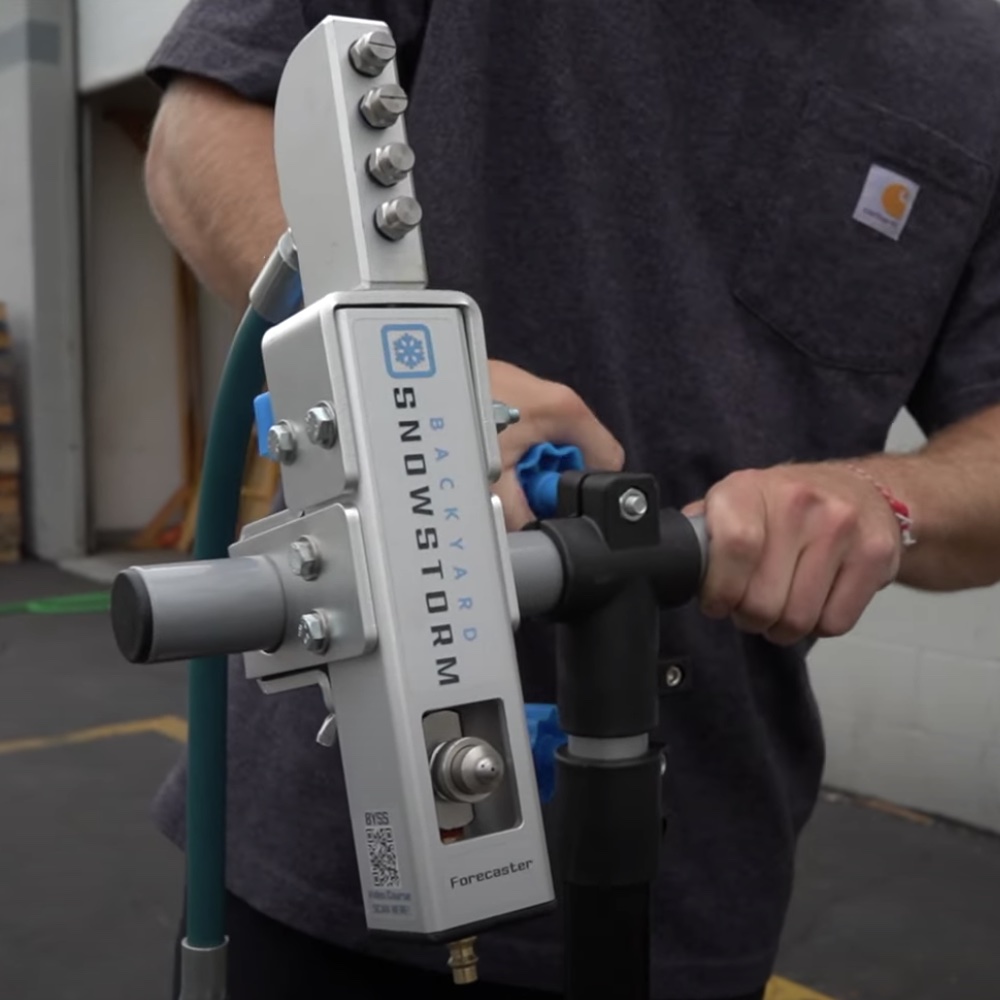
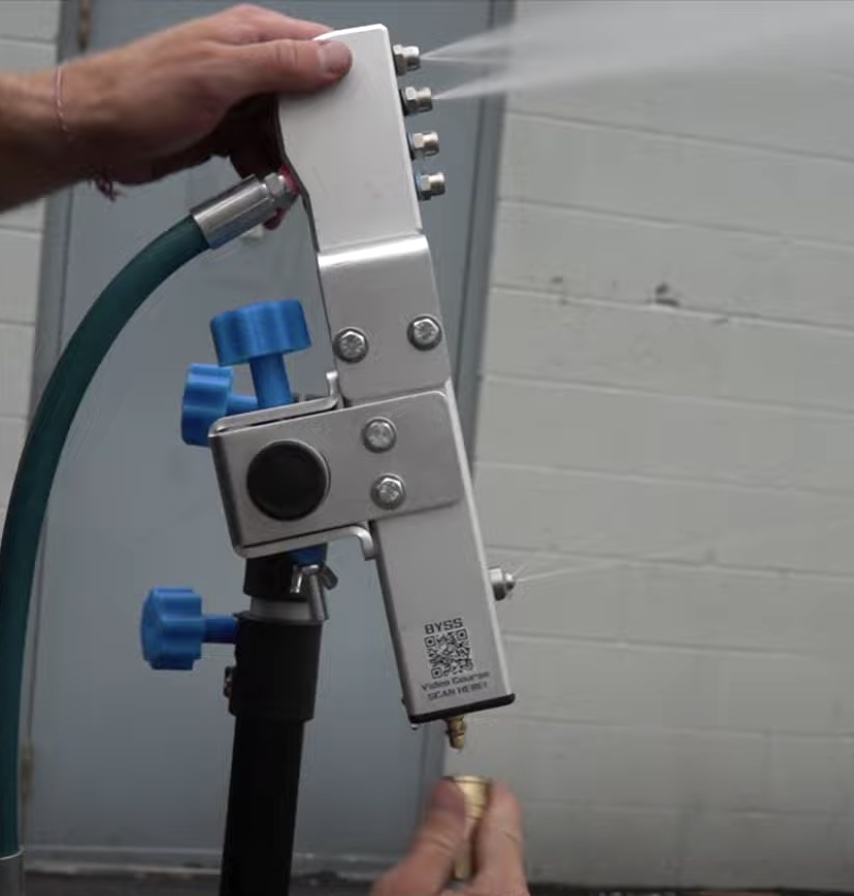
Insert the Proper Misting Nozzles #

Before you rush outside, make sure you have the correct nozzles inserted into the snow gun head. First, you will need to determine the flow rate of your pressure washer. This is typically measured in GPM (gallons per minute) and should be visible on the outside of the pressure washer. Next, use the provided nozzle chart to find where your pressure washer flow rate is located. Select the proper nozzles, wrap the threads with the provided Teflon Tape, and tighten the nozzles into the snow gun head. Ensure the nozzles are tight, so you don’t have any leaks.
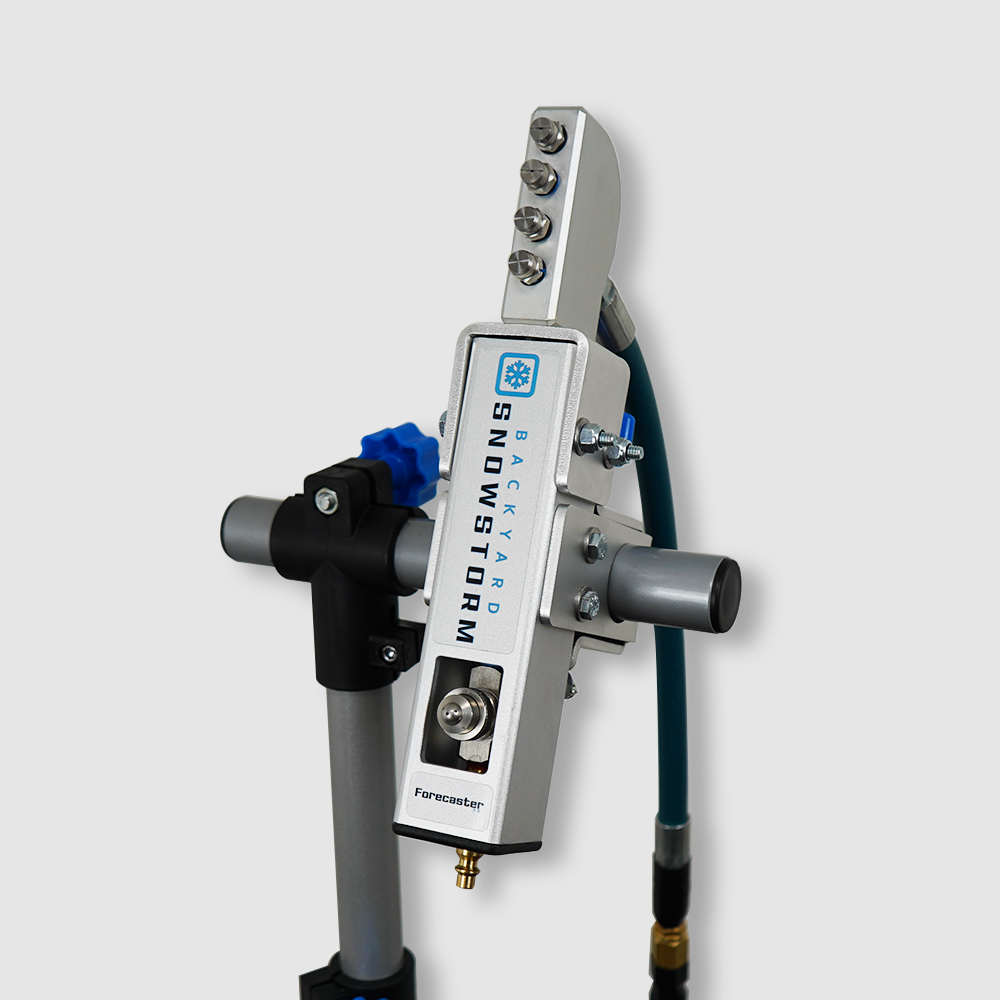
Position the Snow Gun and Stand #
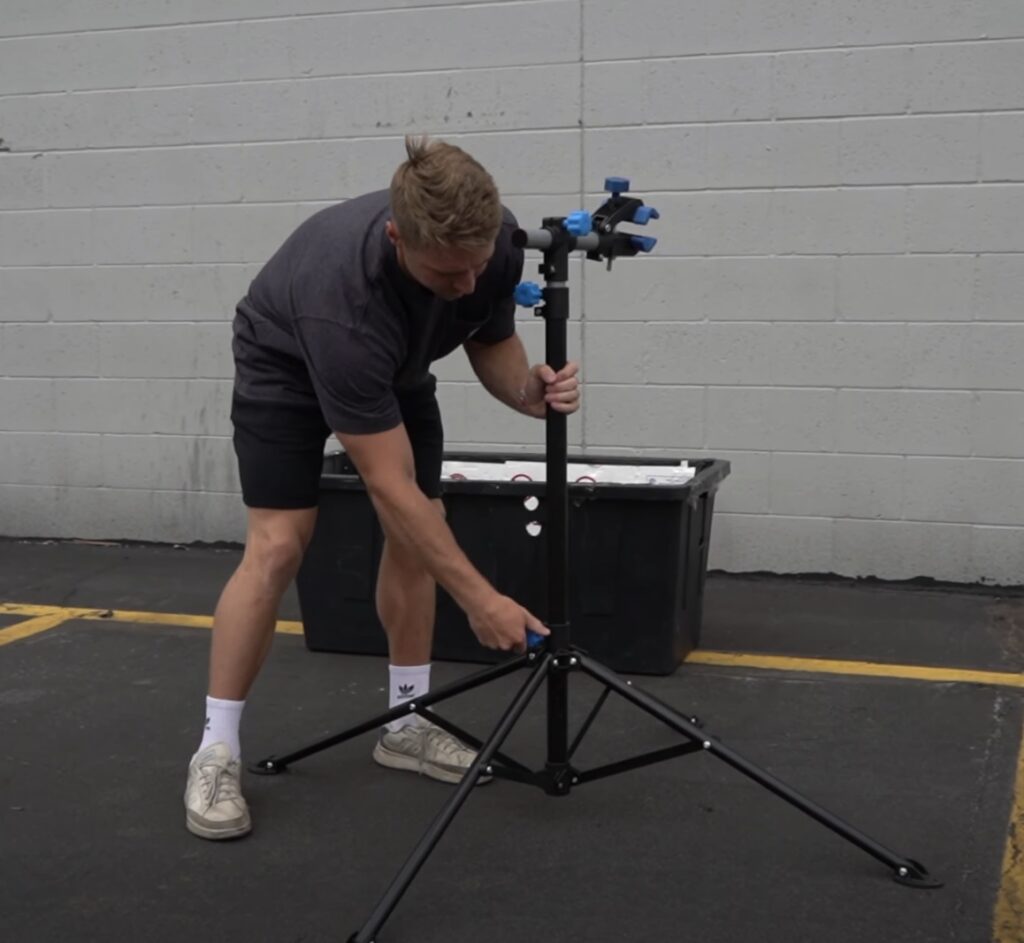
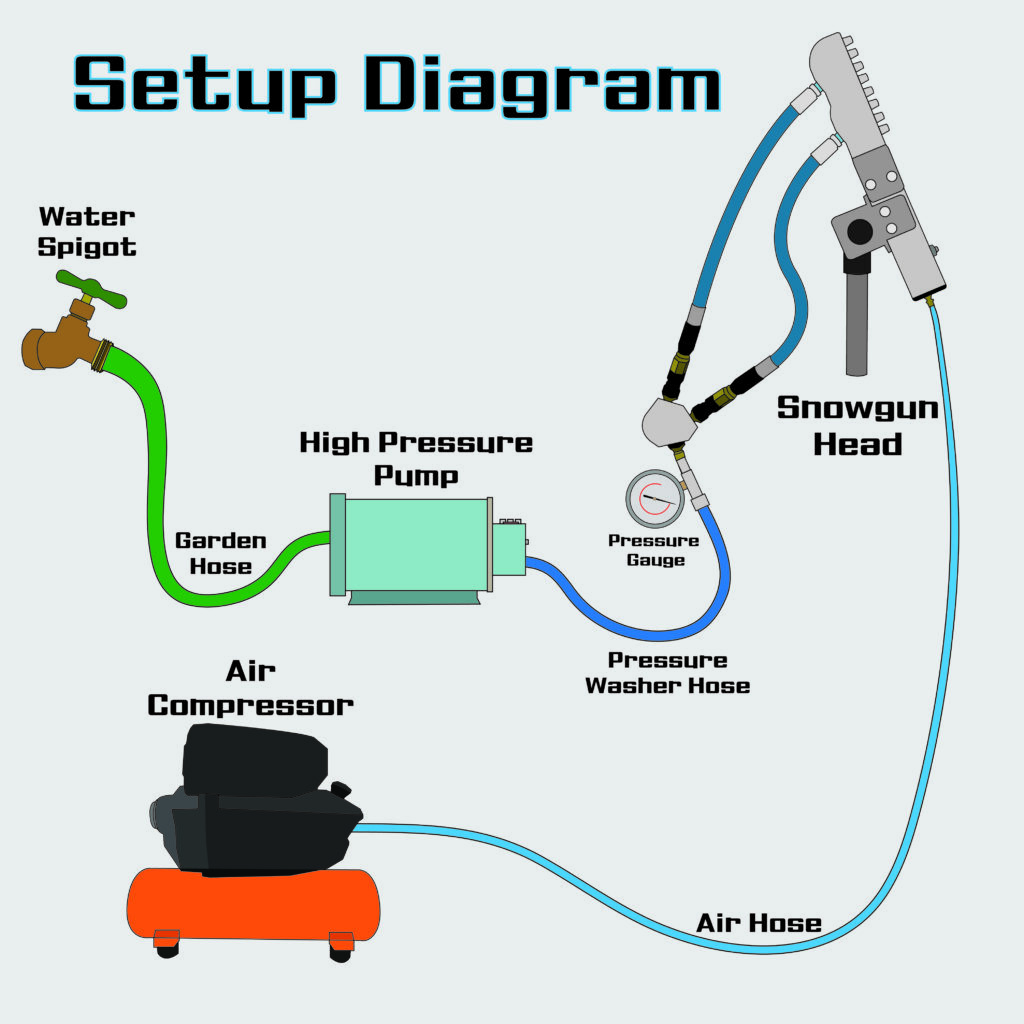
Position the Snow Gun stand where you’d like to make snow. Make sure your garden hose, pressure washer, and hoses can reach from the water source to where you’ve positioned the snow gun.
Connect the Water Line #
Connect one side of the garden hose to the water spigot (or other water source) and the other side to the small black filter and into the pressure washer.

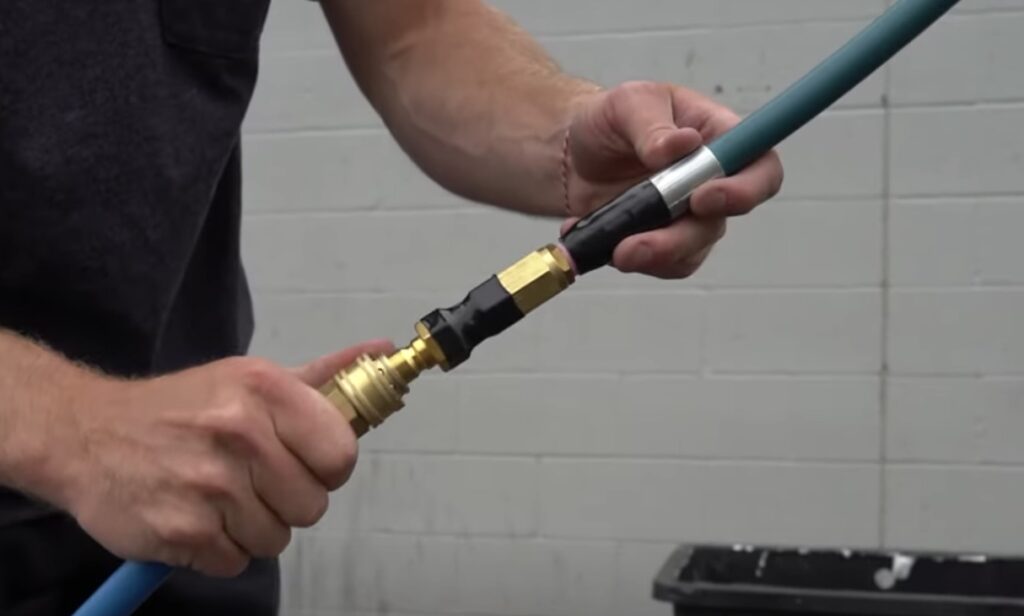
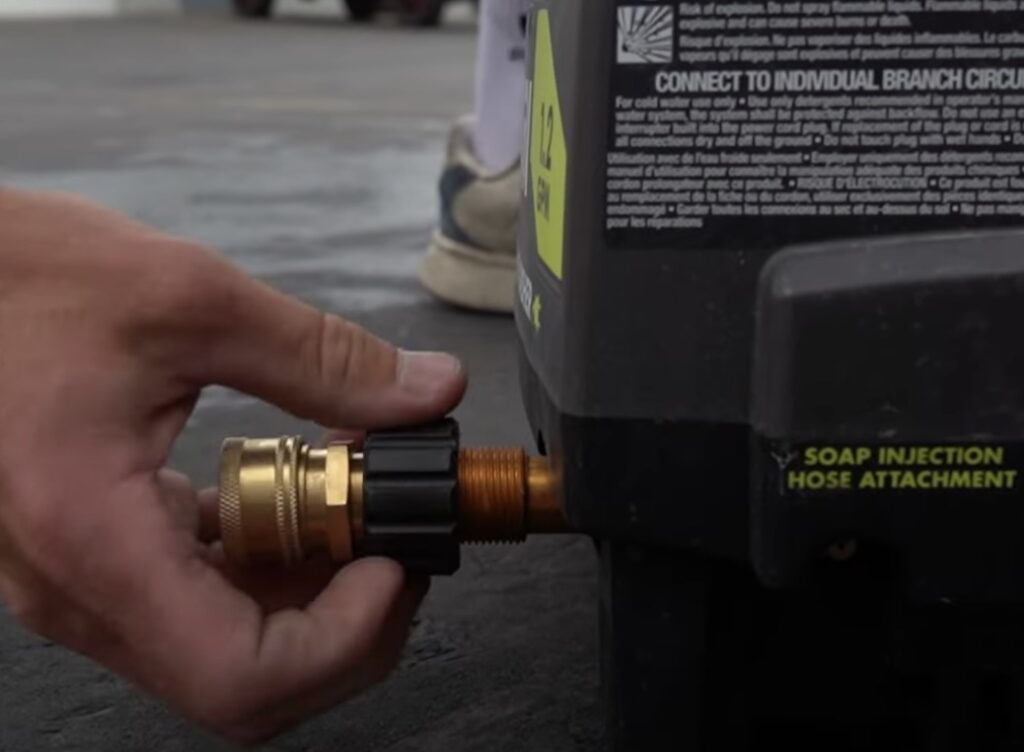
Next, connect one side of the pressure washer hose into the pressure washer and the other side into the back of the Cold Front Snow Gun.
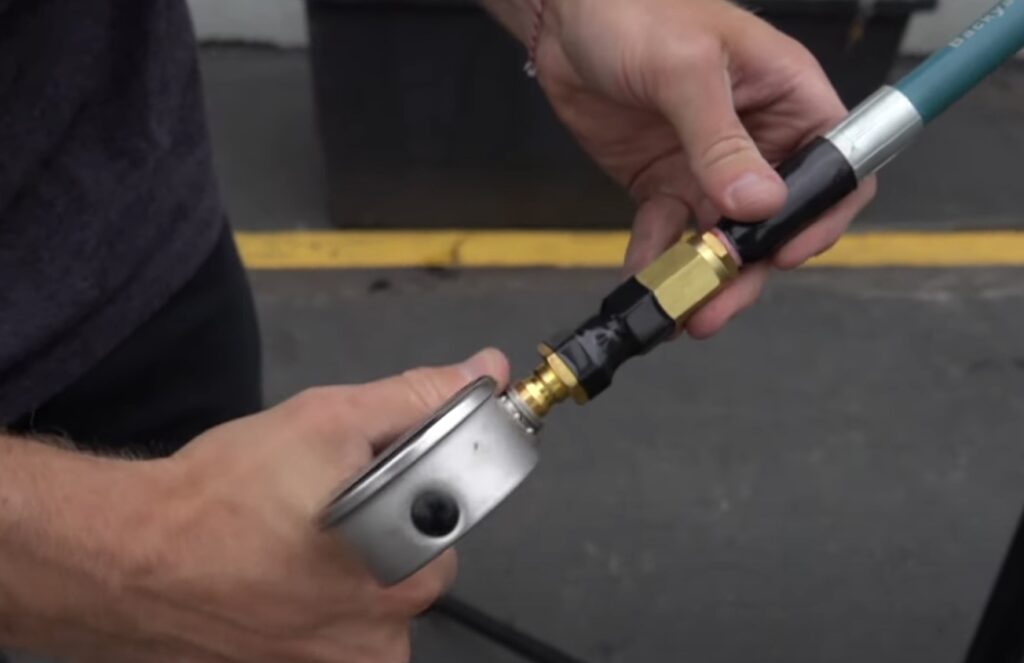
If you are using a pressure gauge, insert the pressure gauge directly before the snow gun. You will also need a quick-connect adapter fitting for your pressure washer.
If you have questions about this adapter fitting, please CLICK HERE. Plug in the extension cord for the pressure washer so it’s ready to be turned on. Make sure the connections are tight and have a strong seal.
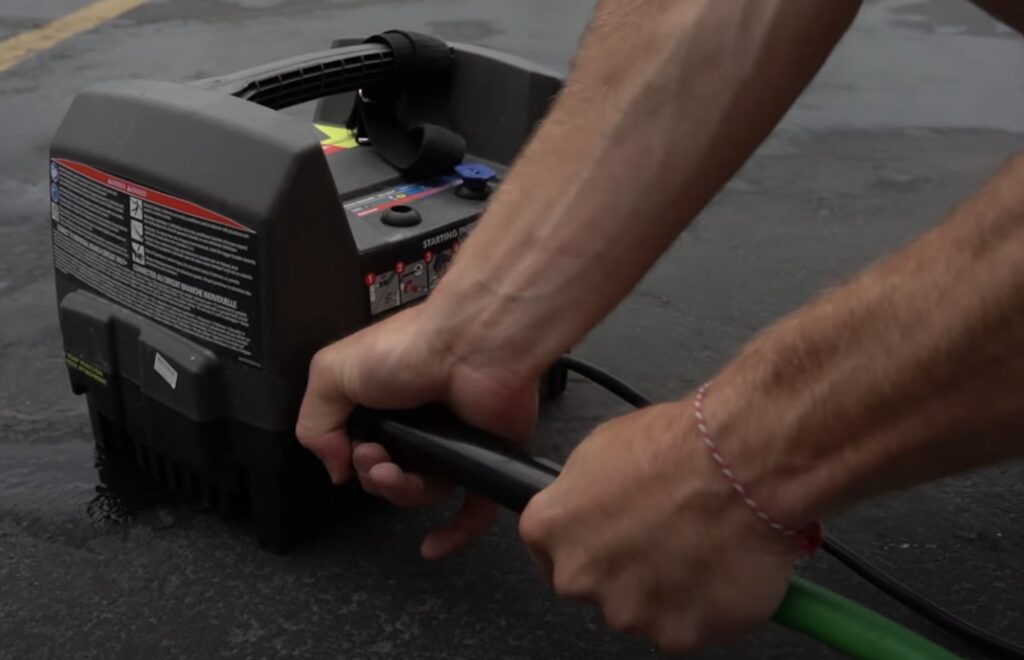
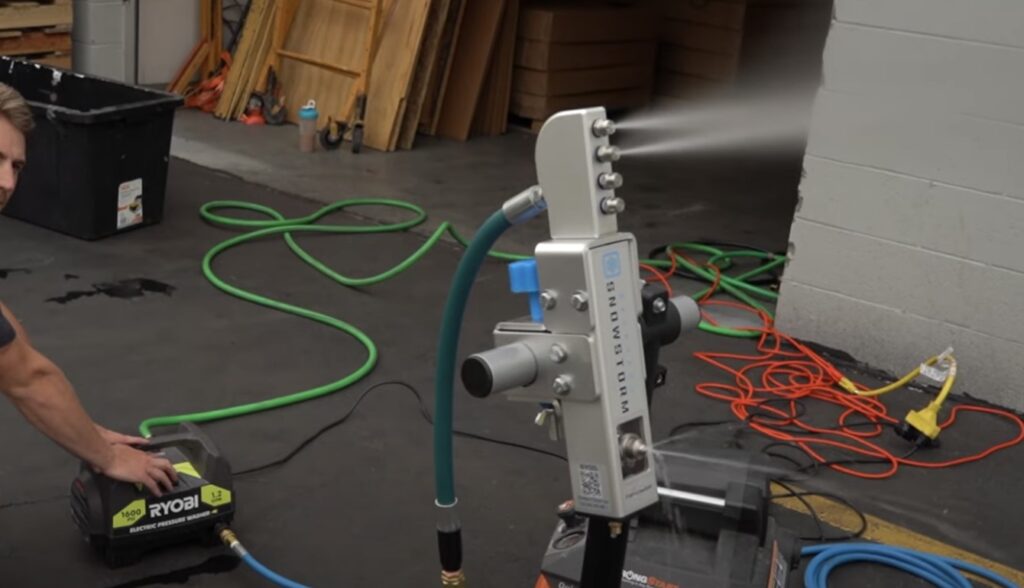
Position Air Compressor #
With the Water Line ready to go, you’ll need to get the air compressor and position it close to the Snow Gun. If you’re using the 10’ air hose, we recommend positioning the air compressor close enough for the air hose to reach the compressor and the snow gun comfortably. If you place the compressor too close to the snow gun, snow may blow back onto the compressor. Next, run the extension cord to a power source and plug in the compressor.
Turn ON the Water and Pressure Washer #
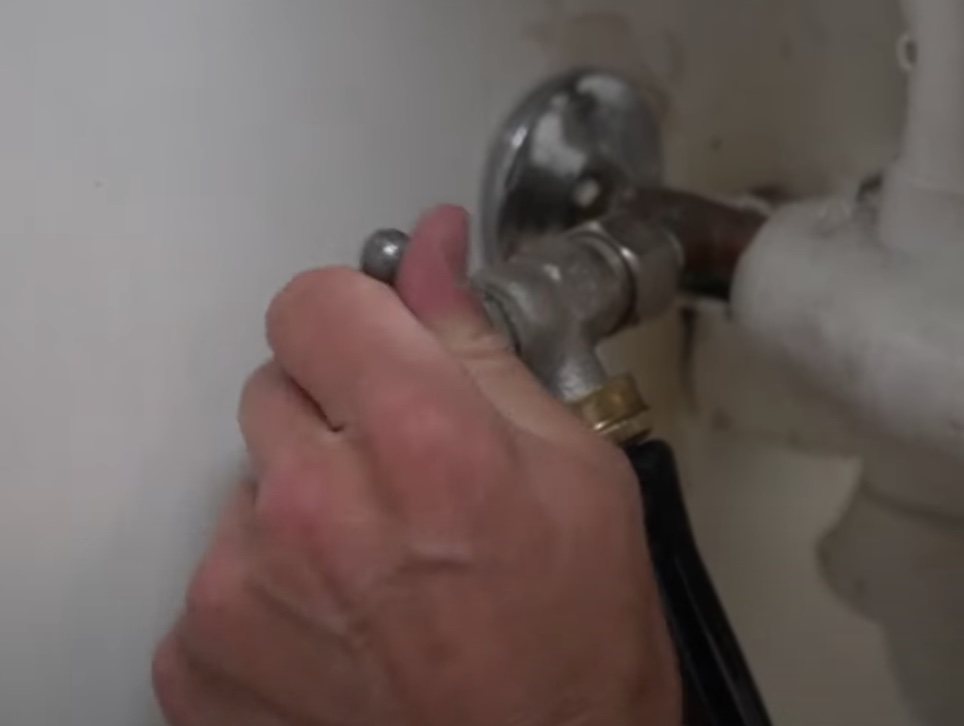
When you have the air compressor positioned, plugged in (NOT TURNED ON), and the water line ready to go, you’re ready to get water flowing. Turn the water ON at the spigot (or other water source). In a couple of seconds, the water should flow through the garden hose, pressure washer, and out of the snow gun nozzles. You should see water exiting the top misting nozzles, and a small stream exiting the bottom nucleation nozzle.
Now, you can turn the pressure washer ON. You will see a visible change in the water pressure at the snow gun nozzles. The bottom nucleation nozzle should now have a medium-sized stream flowing out of the nozzle. If you are getting low to no flow at the bottom nozzle, please view our troubleshooting section HERE.
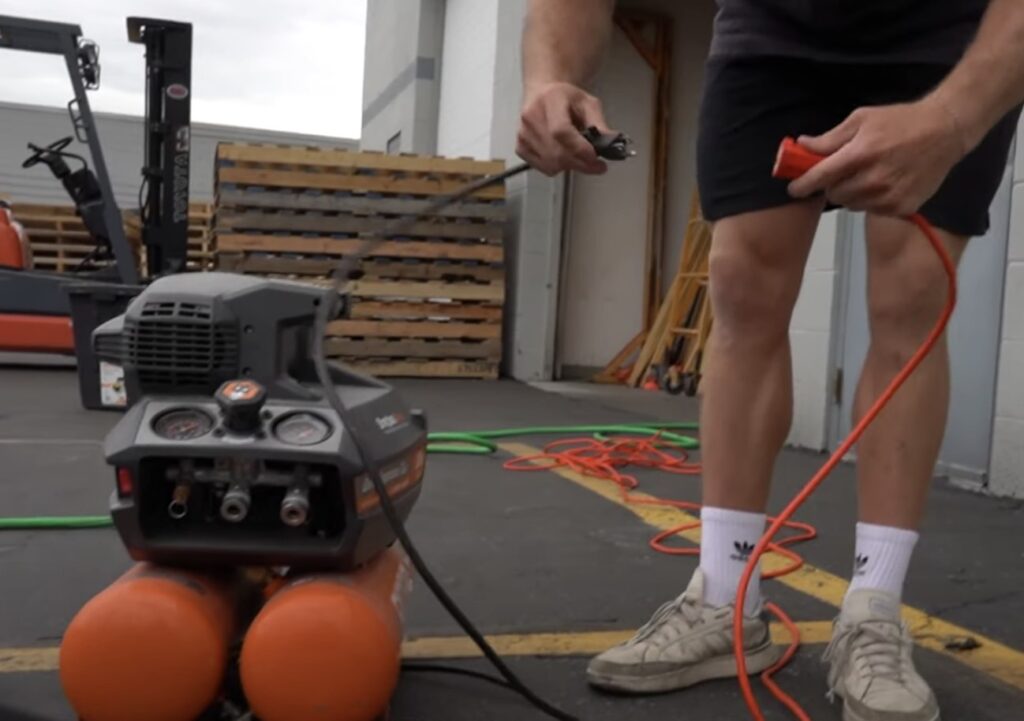
Connect the Air Hose and Turn ON Air Compressor #
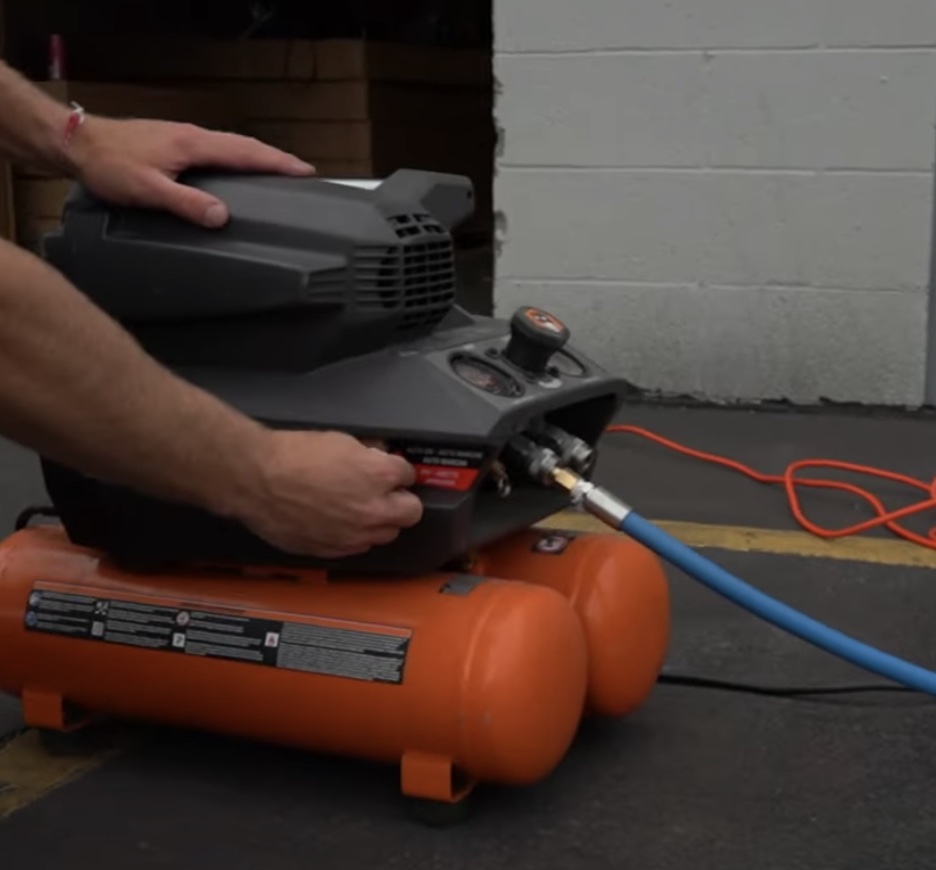
As water is flowing through the Snow Gun, you are now ready to turn the air compressor ON and plug in the air hose. Since the tank is nearly empty, it will take time for the compressor to build up pressure. Over 2-4 minutes, you should see the bottom nozzle increase in air pressure until a steady mixture of air and water is exiting the bottom nucleation nozzle. The pressure shown on the compressor tank gauge should be above 60 PSI (See Operation for more Info).
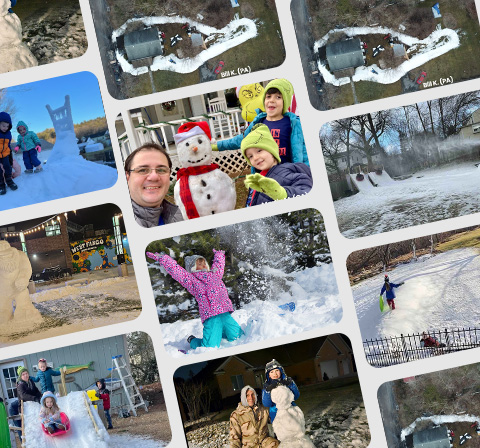
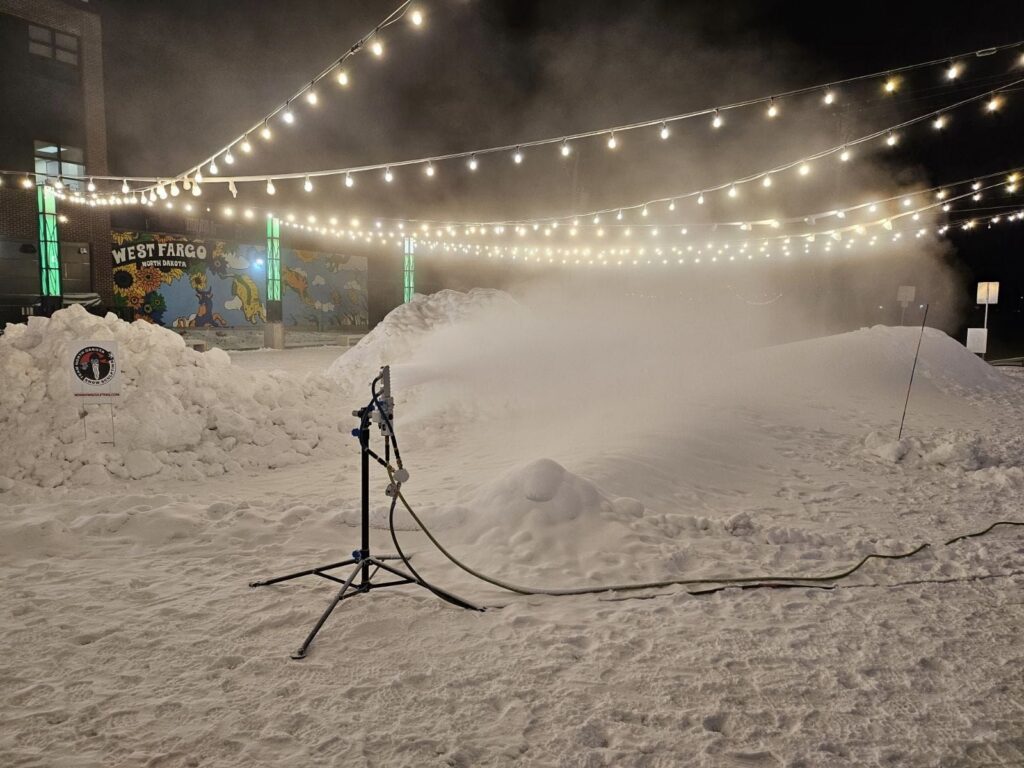
Wait for the Snow to Build! #
If the conditions are right, you should now be making snow!